Three cheers for regaining Internet access!!
We have been in our new house a grand total of two weeks and it is wonderful! I will work on getting pictures up once we get everything settled and decorated.
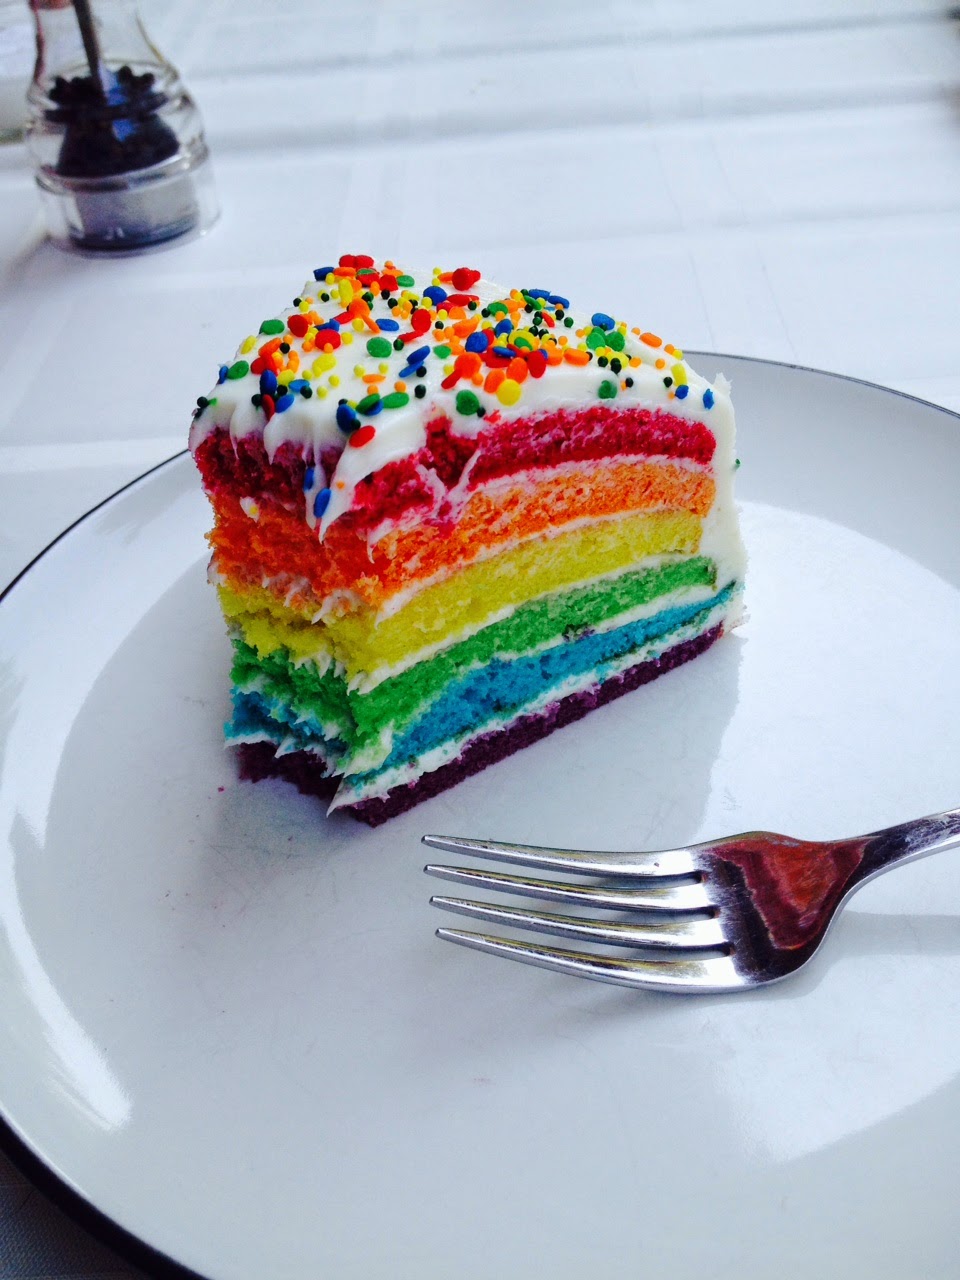
Since we are near family and in our own space again, I decided that a small shindig for my sister's birthday was necessary. Being the colorful personality that she is, I realized that the only fitting cake would be a six layer rainbow cake with funfetti sprinkles. After a few anxious days looking for my cake pans, which were eventually discovered in the office, I settled in to create the cake. Knowing that one can always rely on Pinterest for the answer, I hopped online in search of a recipe that would guide me to success.
DENIED.
Pinterest had failed me and my feeble mind could barely comprehend the enormity of the disaster. While there were plenty of cake photos and vague references to making a rainbow cake, there was not a suitable recipe to be found. I was on my own, forging into unfamiliar territory despite the fact that I hadn't baked a cake in at least three years. I decided the cake itself was complicated enough to warrant leaving the heavy lifting to a professional -
Betty Crocker has so much more experience than I do.
Without further ado:
A Rainbow Cake in 20 Easy Steps
1) Gather your armies. And handsies.
2) Retrieve funfetti frosting that your husband has absconded with.
3) Consult six-layer cake recipe found on Pinterest that calls for extra cake mixes and FIVE TUBS of frosting.
4) Disregard recipe and decide to wing it, Martha Stewart style.
5) Weigh your mixing bowl empty.
6) Prepare cake mix according to directions.
(Or from scratch if you're cool like that.)
7) Weigh bowl with batter and divide accordingly into six smaller bowls.
8) Begin mixing food dye for a rainbow effect, consulting color wheel as needed.
9) Become alarmed by pasty results and reconsider Martha Stewart abilities.
Cue sweaty palms as you realize that you don't have a back up plan.
10) Add more dye.
11) A lot more dye.
12) Breathe first sigh of relief that your colored cake batter appears to be suitably rainbow-esque.
13) Pour the three easiest colors (green, blue, and yellow) in pans for baking.
14) Place in oven and begin to pray.
15) Breathe second sigh of relief that your tiny cake layers cooked properly.
16) Become distracted by cute baby.
17) Bake remaining layers and allow to cool completely.
18) Assemble layers Roy G. Biv style.
19) Crumb coat and place in refrigerator for one hour.
20) Frost, sprinkle with funfetti, cover, and refrigerate overnight.
And that's it! I think the cake turned out fairly well overall, but I'm especially pleased with the vibrancy of the colors. I only used one cake mix, which made for extremely thin layers but a very manageable height, and two tubs of frosting. As for the coloring, purple was definitely the most challenging with red coming in as a close second. It ends up that purple needs more red than blue dye, and the key to a deep red lies in adding just a pinch of unsweetened cocoa powder.
 |
 |
 |
 |
| Jr is working on his hand coordination, thus the intense concentration as he tries to knock over Gigi's soda. |
"Life is uncertain. Eat dessert first."
Ernestine Ulmer


6 comments:
JR formulating master plan involving Coke somehow.
FYI may need to adjust tagline unless he is categorized under "trusty pets". :D
He's pretty smart, so we should probably be worried... And he's covered under the "tiny person" category, of course! ;)
Super impressed by your cake creation! And yes, it is perfect for a fun, colorful birthday girl like Jeanette! Big congratulations on moving in to your new house - I can't wait to see pictures!
Thanks, Beth! I can't wait to get everything prettied up around here!
Thanks for the beautiful cake and birthday celebration! I loved it.
You're so very welcome!
Post a Comment